
Cook Easier Without Spending a Fortune
Cooking can be fun, comforting, and creative. But let’s be honest, it can also be exhausting. All the standing, opening, chopping, gripping, carrying, and cleaning take a lot of energy. For individuals with disabilities, chronic pain, fatigue, reduced grip strength, limited mobility, or coordination challenges, the kitchen can sometimes feel more like an obstacle course than a place to make food. And while there are many amazing adaptive kitchen tools out there, they can be expensive. Not everyone can afford a cart full of specialty equipment.
The good news? Accessibility does not always have to cost a lot. Sometimes a $2 roll of non-slip liner or a piece of foam tubing can make a kitchen tool easier, safer, and more comfortable to use. Small changes can make a big difference.
Start with What Is Annoying
Before buying anything, think about the kitchen tasks that make you want to give up and go back to bed.
It might be things like:
opening jars
holding thin utensils
chopping food without the cutting board sliding everywhere
standing too long
reading a recipe while cooking
reaching things in the back of a cupboard
carrying heavy pots, plates, or containers
Those annoying little moments are a great place to start. Instead of asking, “What adaptive equipment should I buy?” try asking: “What part of cooking is making this harder than it needs to be?”
Budget-Friendly Kitchen Tools + Hacks
1. Non-Slip Liner
Non-slip liners are simple tools that do more than people expect. You can use it to:
stop a cutting board from sliding
keep a mixing bowl steady
hold a plate in place
stabilize jars or containers
add grip underneath small appliances and to lids
This can be especially helpful for reduced grip strength, tremors, fatigue, one-handed use, or difficulty keeping items steady.
Where to find it: Dollar stores, Walmart, Amazon, or honestly any home goods aisles.
2. Foam Tubing
Make skinny handles easier to hold
Some kitchen tools have tiny handles that are not very hand-friendly. Think forks, spoons, peelers, whisks, spatulas, or measuring spoons. Foam tubing can help make those handles thicker, softer, and easier to grip. You can slide it over the handle of a utensil to create a more comfortable grip.
This may be helpful for people with:
Joint pain or stiffness
hand weakness
reduced coordination
difficulty holding small objects
Where to find it: Grab a pool noodle from Dollar store, Walmart, Amazon etc. and cut them into desired lengths and pieces. Hardware stores often sell foam pipe insulation, which can be cut to size.
3. Elastic Bands, Velcro, and Hair Ties
Elastic bands, Velcro strips, and hair ties can be surprisingly useful in the kitchen.
They can help:
create loops for holding utensils
add grip to containers
keep items together
make certain tools easier to manage
add texture to slippery handles or lids
For example, a hair tie around a jar lid can add texture and make it easier to twist. Velcro can help secure items or create a removable hand strap.
Safety note: Any DIY adaptation should feel comfortable and safe. It should not cut off circulation, cause pain, or make it harder to let go of the item.
4. Rearrange First, Then Buy
Accessibility is not always about buying something new. Sometimes, it is about changing where things live. Try moving your most-used items to places that are easier to reach.
For example, keep these items at waist or counter height:
everyday dishes
utensils
spices
favourite cooking tools
frequently used ingredients
A simple “easy-reach basket” can also help. Fill it with the things you use every day, such as a favourite spoon, can opener, measuring cup, tea bags, snacks, or other daily essentials. This can be especially helpful for wheelchair users, people with limited reach, people with pain, or anyone who gets tired from moving around the kitchen too much.
5. Create a Seated Prep Station
Standing for the entire cooking process can be tiring and painful. A seated prep station can make cooking a bit more manageable.
This can be as simple as:
a sturdy chair at the counter
a tray with your most-used tools
a small prep area within easy reach
Try keeping these nearby before you start:
cutting board
non-slip liner
utensils
ingredients
mixing bowl
paper towel or cloth
garbage bowl for scraps
A seated setup can save energy and reduce the amount of back-and-forth movement needed while cooking. This can be especially useful for people who experience fatigue, dizziness, pain, balance concerns, or difficulty standing for long periods.
A Budget-Friendly Starter Kit Under $50
You do not need to buy everything at once. Start with the item that solves your biggest kitchen frustration. Have a look around your house, there might just be several of the items lying around. Here is a simple starter kit idea:
Item | How It Can Help |
Non-slip liner | Keeps cutting boards, bowls, plates, and containers steady |
Foam pipe insulation or pool noodles | Builds up thin handles to make tools easier to grip |
Elastic bands or hair ties | Adds grip or creates simple loops |
Velcro strips | Helps secure items or create removable hand supports |
Silicone jar opener grip | Helps open jars and lids |
Lightweight measuring cups or spoons | Reduces strain when measuring ingredients |
An accessible kitchen does not have to be fancy or expensive. And it definitely does not have to look like anyone else’s kitchen. It just has to work for you!
Try It Out: Mini Frozen Key Lime Pies
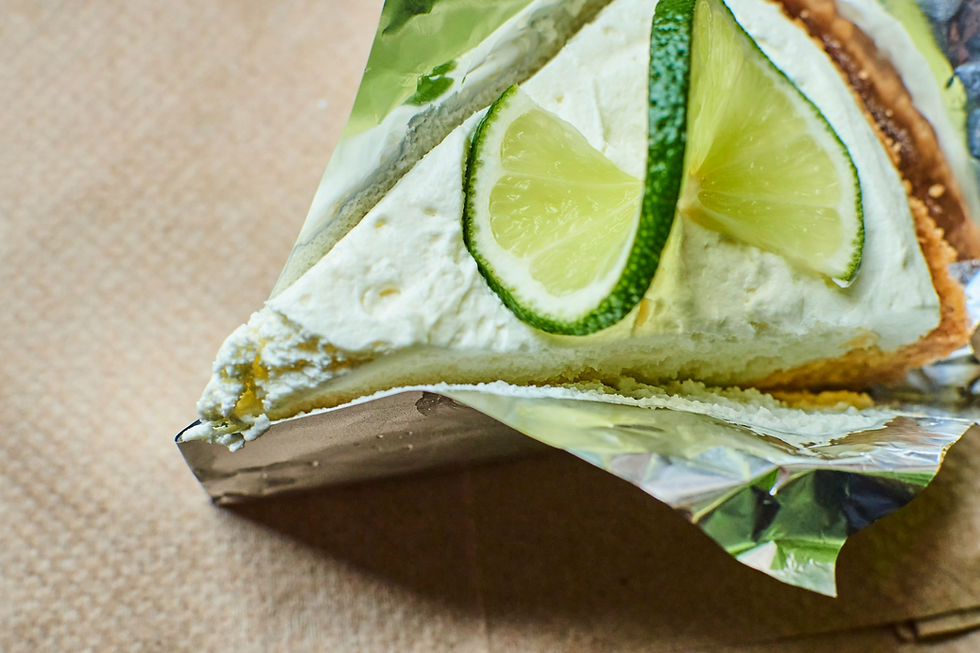
The recipe below is a simple way to put some of these kitchen adaptations into practice. These mini frozen key lime pies are no-bake, can be made in smaller steps, and don't require standing at the stove.
Ingredients
3/4 cup fresh-squeezed key lime juice
8 oz whipped topping, defrosted
1 sleeve honey graham crackers
1/2 stick unsalted butter, melted
1 can, 14 oz, sweetened condensed milk
8 oz cream cheese, softened
Optional:
extra whipped topping
key lime slices
Directions
1. Make the graham cracker crumbs
Crush the graham crackers and mix them with the melted butter. Set aside.
To make this easier, place the crackers in a sealed bag and crush them with a rolling pin, cup, or the bottom of a container. You can put non-slip liner under the bag so it does not slide around.
You can also use pre-crushed graham cracker crumbs if that works better.
2. Mix the cream cheese
Using a hand mixer, cream the softened cream cheese until smooth.
If standing or holding the bowl is tiring, sit down while mixing and place the bowl on non-slip liner to help keep it steady.
3. Add the condensed milk
Add the sweetened condensed milk to the cream cheese and mix until smooth.
A silicone grip, electric can opener, or piece of non-slip liner can help with opening the can. Keeping the bowl close by can also reduce lifting and reaching.
4. Add the key lime juice
Pour in the key lime juice and mix until smooth.
Fresh key lime juice is great, but bottled key lime juice can also work if squeezing limes is painful, tiring, or just not realistic that day.
5. Fold in the whipped topping
Once the whipped topping is defrosted, gently fold it into the cream cheese mixture until combined.
A spatula with a larger handle, or a spatula adapted with foam tubing, may be easier to hold.
6. Fill the silicone cups
Fill individual silicone cups with the cream cheese mixture about 3/4 of the way up. Add the graham cracker crumbs on top.
It may help to place the silicone cups on a sheet tray before filling them. That way, everything can be moved to the freezer at once.
7. Freeze
Place the tray in the freezer for about 4 hours, or until the pies are set.
8. Serve
Carefully unmold the pies and serve them graham cracker side down. Add whipped topping and a key lime slice if you want.


